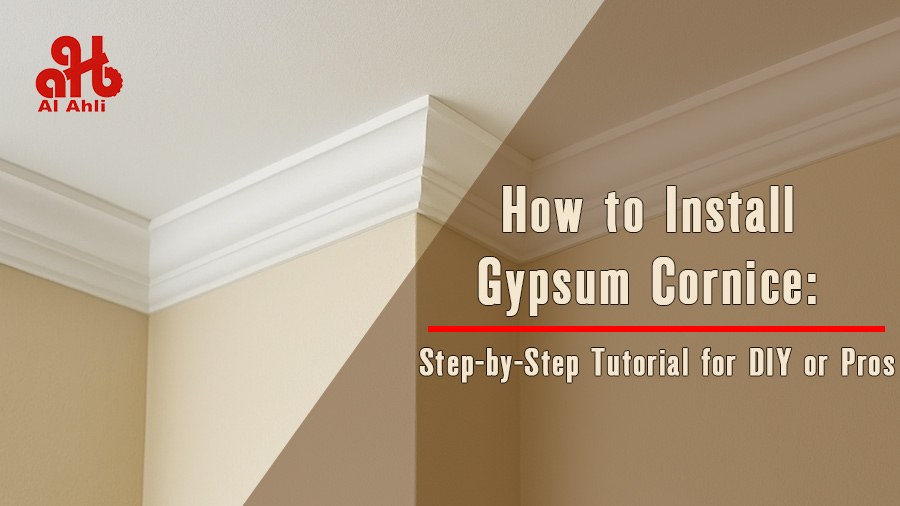
How to Install Gypsum Cornice
Gypsum cornices are one of the most effective ways to add elegance and character to any interior. Whether you are renovating a villa in Dubai or upgrading a modern apartment, cornices bring charm to ceilings and walls. While many homeowners hire professionals for a seamless finish, gypsum cornice installation can also be tackled as a DIY project if you’re willing to put in some effort. This guide covers everything you need to know — from tools and preparation to installation and finishing.
Why Choose Gypsum Cornices?
Gypsum cornices are popular in UAE homes for several reasons. They are lightweight yet durable, fire-resistant, and compatible with most paints. Their versatility allows them to fit both classic and modern interiors. Beyond aesthetics, they can also hide ceiling imperfections, cracks, or wiring, giving your space a neat, polished look.
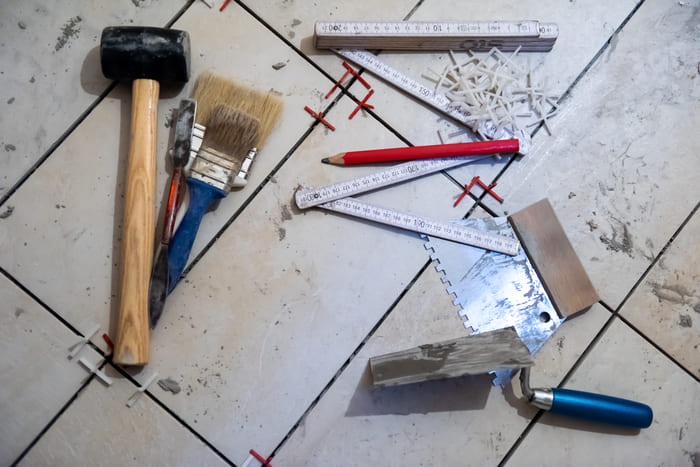
Tools and Materials You’ll Need to Install Gypsum Cornice
Before starting, gather the right tools to make your job easier:
- Gypsum cornice pieces
- Gypsum adhesive or cornice glue
- Measuring tape and pencil
- Mitre box or saw (for angled cuts)
- Sandpaper
- Paint and brush
- Ladder and protective gear
Having everything ready ensures a smooth workflow and minimizes mistakes.
Step 1: Measure the Room
Accurate measurements are key. Use a measuring tape to calculate the length of each wall where the cornice will be installed. Mark the positions with a pencil, and double-check corners to ensure they are square. Proper measurements prevent gaps or overlaps once the cornices are fitted
Step 2: Cut the Cornices
Cutting requires precision, especially for corners. A mitre box or electric saw helps create perfect 45-degree angles so the cornices meet seamlessly. Always test-fit the pieces on the wall before applying adhesive. For curved or irregular walls, smaller cuts may be needed to adjust the shape.
Step 3: Apply Adhesive
Use gypsum adhesive or cornice glue and apply a generous bead along the back edges of the cornice. Avoid overloading the adhesive, as excess may spill out when pressed against the wall. If you’re working in a hot climate like the UAE, mix smaller batches to prevent the adhesive from drying too quickly.
Step 4: Fix the Cornice in Place
Press the cornice firmly along the marked lines. Start from one end of the wall and move across slowly, ensuring the piece is level and aligned. Hold it for a few seconds so the adhesive bonds properly. If adhesive squeezes out, remove the excess immediately with a damp cloth.
Step 5: Join the Corners
Where two cornices meet, align them carefully to create a clean joint. Apply extra adhesive if needed, then press the pieces together. Smooth the seam with your finger or a small spatula. For larger gaps, use gypsum filler to achieve a flawless finish.
Step 6: Sand and Smooth
Once the adhesive has fully dried, gently sand the joints and edges to remove any uneven spots. This step ensures the cornices look like a continuous design rather than separate pieces. Be careful not to damage the surface while sanding.
Step 7: Paint and Finish
The final step is painting the cornice. White is a timeless choice, but you can also match or contrast with your ceiling and wall colors. Use a high-quality paint for durability and a smooth finish. A fresh coat of paint will highlight the details and add elegance to your space.
DIY vs Professional Installation
- DIY: Cost-effective and rewarding, suitable for smaller spaces or straightforward designs.
- Professional: Recommended for large rooms, complex patterns, or when precision is critical. Skilled installers ensure faster work and a polished result.
Maintenance Tips
- Dust regularly with a soft cloth or vacuum brush.
- Avoid moisture exposure, as it may weaken the adhesive.
- Repaint every few years to keep the cornices looking fresh.
Conclusion
Installing gypsum cornices is a rewarding project that instantly elevates the look of your interiors. With the right tools, preparation, and patience, you can achieve professional-looking results on your own. For more complex designs, relying on experienced professionals guarantees flawless finishes. Whether DIY or pro-installed, gypsum cornices will always add timeless beauty to your home.