What is molding design?
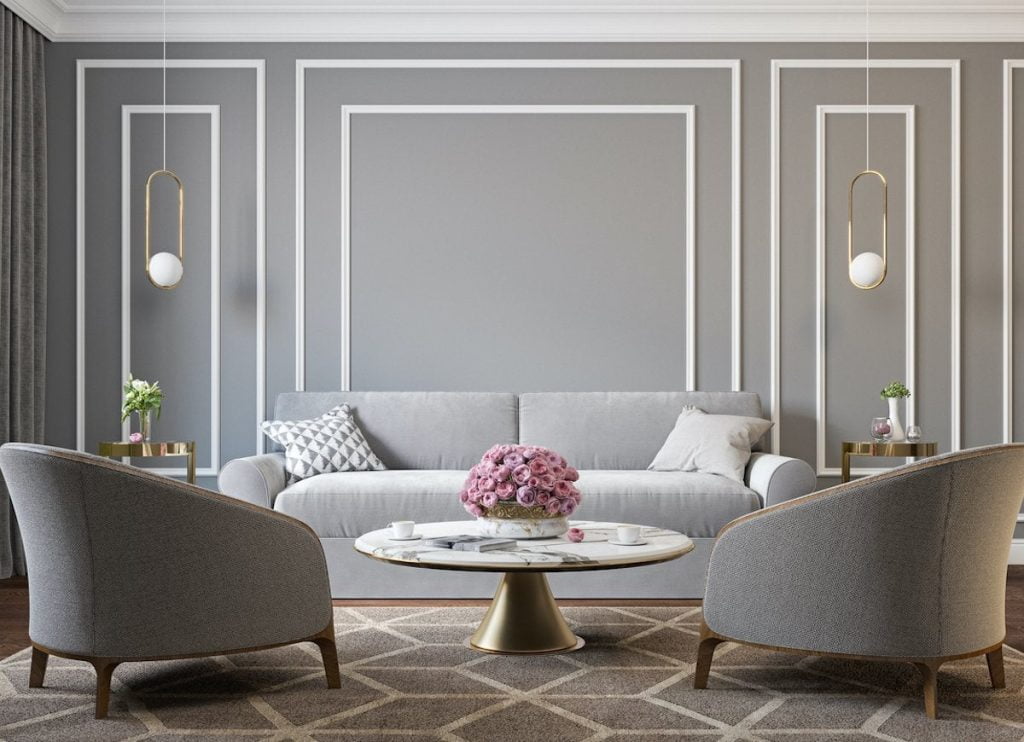
Molding design refers to the use of moldings and trim to enhance the interior and exterior design of a space. These design elements can be used to create visual interest, add character, and improve the overall aesthetic of a room.
How to make molding design
When making a molding design, there are several factors to consider. especially when it comes to injection molding and wall molding design. Here are some tips and insights.
Injection Molding Design Basics.
According to Protolabs, understanding injection molding basics such as draft, radii, and wall thickness can improve moldability. Maintaining consistent wall thicknesses is crucial. As non-uniform walls can cause the part to warp as the thermoplastic material cools down. Or cause sink marks to occur.
Wall Molding Design.
For wall molding design, there are various ideas and tips to consider. The Spruce suggests options such as using dental crown molding, opting for stained wood trim, adding bold beadboard. And also considering chair rail molding to elevate the space. Additionally, Kuiken Brothers provides a digital resource featuring detailed interior elevation drawings of over seventy unique molding combinations. including full room packages, cornice combinations, and mantle designs using profiles from their in-stock Molding Collection.
In summary, when making molding design, it’s important to consider factors such as maintaining consistent wall thicknesses for injection molding. and also to explore various molding and trim ideas for wall molding design to elevate the space.
Crown molding design rules
The design of crown molding follows several rules to ensure a visually appealing and harmonious look. Here are some key rules for crown molding design.
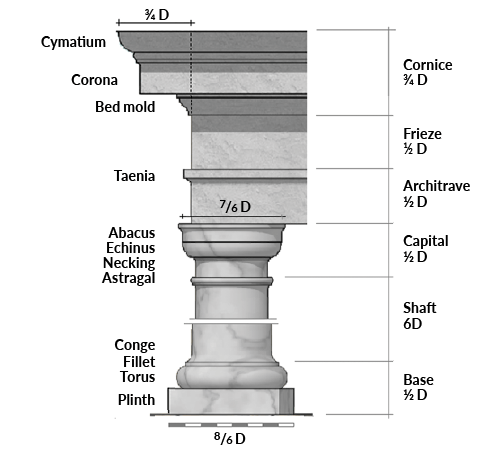
Harmony of Parts. The parts of the crown molding should work together in harmony. This means that the different elements of molding, such as the cymatium, corona, and bed mold, should complement each other. In order to create a cohesive and balanced design.
The Power of a Pause. Introducing a “pause” in the design provides a visual break and allows the eyes to rest. such as a flat band in the middle of the molding. This pause contributes to the overall aesthetic appeal of the molding.
Less is More. Avoid overly complex and busy designs. More contour and excessive detailing can often detract from the elegance of the molding. It’s important to remember that simplicity and clarity in the shapes of the molding communicate a clear and impactful message.
Correct Size. The crown molding size should be chosen carefully based on the height of the ceiling and the size of room. For example, for standard 8-foot-high ceilings, the crown/cornice height should be 2½ to 6 inches. for 9-foot ceilings, 3 to 7½ inches, and for 10-foot ceilings, 3½ to 8 inches.
By adhering to these rules, one can create well-proportioned, visually appealing crown molding design enhances the overall aesthetic of space.
Right crown molding size for a room
When choosing the right crown molding size for a room, it’s essential to consider some points. The ceiling height and the square footage of the space. Here are some guidelines.
– For rooms with 8-foot ceilings, a crown molding size between 3 to 6 inches is recommended.
– Rooms with 9 to 10-foot ceilings can accommodate crown molding between 4 ¼ to 7 inches.
– Ceilings that are 10 feet or taller require larger crown moldings to make a visual impact. For casual spaces, a minimum of 4 inches is suggested. While formal areas such as grand foyers, dining, and living rooms may need crown moldings of at least 9 inches.
Remember that the square footage and level of room formality also play a role in determining appropriate crown molding size. Additionally, the molding should be proportionate to other existing trims in the room, such as baseboards and window casings.
By following these guidelines, one can select the right crown molding size to enhance the aesthetic appeal of a room. while maintaining balance and proportion.
Crown molding design installing tips.
When installing crown molding, there are several tips to consider for a successful and visually appealing installation. Here are some tips.
Tools and Materials. You will need crown molding, 18-gauge nails, nail gun, paintable caulk, caulk gun, ladder, miter saw, tape measure, safety glasses.
Understanding Terminology. Familiarize yourself with crown molding terminology. Such as miter joint, miter cut, and bevel cut, to better understand the installation process.
Starting Point. Look at your room and determine the least prominent corner. This should be your starting point and thus your last corner to complete.
Cutting and Installing. When cutting crown molding, keep track of which edge is the bottom and which edge is the top. In order to eliminate confusion during installation. Group similar cuts together, such as scarf joints, outside-miter joints, and inside-corner cuts, to save time.
Dealing with Out-of-Square Corners. If the room is out of square, adjust the angles for cutting the crown molding to accommodate the room’s dimensions. No drywall work will be necessary.
Design Rules. Ensure that the parts of the crown molding reflect the whole, and avoid overly complex and busy designs. Moldings should be readable, with shapes that communicate a clear message.
By following these tips, you can install crown molding like a pro. Also creating an architectural interest and enhancing the aesthetic appeal of any room.