All purpose joint compound uses
All purpose joint compound, known as drywall mud, is versatile material used in various stages of drywall installation and repair. It is a type of paste that fills the cracks between drywall sheets, providing a smooth and uniform surface. Here are some key features and use purpose joint compound tips.
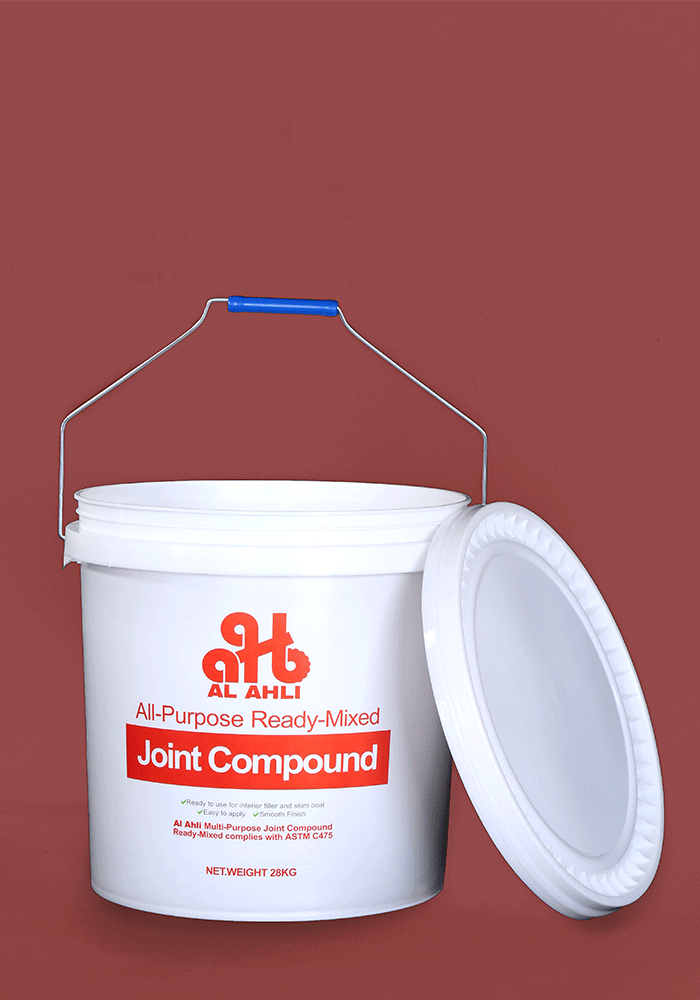
Convenience. All-purpose joint compound is available in ready-mixed form. which means it is pre-mixed and ready to use straight from the container. This saves time and effort compared to mixing your own compound.
Taping and topping performance. This compound is designed to be used for both taping and topping. (taping: applying joint tape over seams, topping: applying a thin layer over the tape to create a smooth surface). It offers good performance in both these applications.
Open time and cold bond. All-purpose joint compound has a good open time. which means it remains workable for a sufficient period, allowing for easy application and smoothing. It also has a cold bond, which means it adheres well even in colder temperatures.
Repairing cracks. All-purpose joint compound can be used to repair cracks on drywall and plaster surfaces. It is recommended for interior plaster and masonry that is not subject to moisture.
Filling and finishing coats. All-purpose joint compound can be used to apply filling and finishing coats on drywall surfaces, creating smooth and seamless finish.
All purpose joint compound for texture
All purpose joint compound can be used for various texture applications, including creating knockdown texture on walls and ceilings. Here’s how it can be used for texturing.
Knockdown texture. All-purpose joint compound can be used to create a knockdown texture by applying it to the walls or ceiling. And then flattening it with a trowel or other tools. This technique is popular for its rustic, natural look and its ability to hide minor surface imperfections.
Splatter texture. All-purpose joint compound can also be used to create a splatter texture. which involves applying the compound in a splattered pattern using a sprayer or a brush. This technique creates a more textured and uneven surface.
Stomp texture. Stomp texture is another option that can be achieved with all-purpose joint compound. It involves applying the compound with a stomping motion using a brush or roller, creating a textured and patterned surface.
Mud trowel or skip trowel texture. All-purpose joint compound can be used to create a mud trowel or skip trowel texture. which is a more spread-out and smoother version of a stucco-like texture. This technique requires applying the compound with a trowel and then lightly dragging it to create the desired pattern.
When using all-purpose joint compound for texturing, it is important to pay attention to the material consistency. And to mix it correctly for the desired texture finish.
All purpose joint compound dry time
All purpose joint compound typically takes around 24 hours to dry under normal conditions. Such as a temperature of 70°F (21°C) and 70% humidity. However, the drying time can be influenced by various factors, including these.
Humidity: Higher humidity levels can slow down the drying process, while lower humidity levels can speed it up.
Temperature: Lower temperatures can also slow down the drying time, while higher temperatures can accelerate it.
Application thickness: Thicker applications of joint compound will take longer to dry compared to thinner coats.
Ventilation: Good air flow in the room can help the joint compound dry faster.
When working with all-purpose joint compound, it is important to allow each coat to dry completely. Before adding additional layers or proceeding with sanding, priming, or painting. Trying to work with the compound before it is fully dry can lead to damage or a poor finish.
How to use all purpose joint compound
To use all purpose joint compound for various applications, follow these general steps.
Prepare the surface. Clean the area where the joint compound will be applied, removing any dust, debris, or loose particles. This will ensure proper adhesion and a smooth finish.
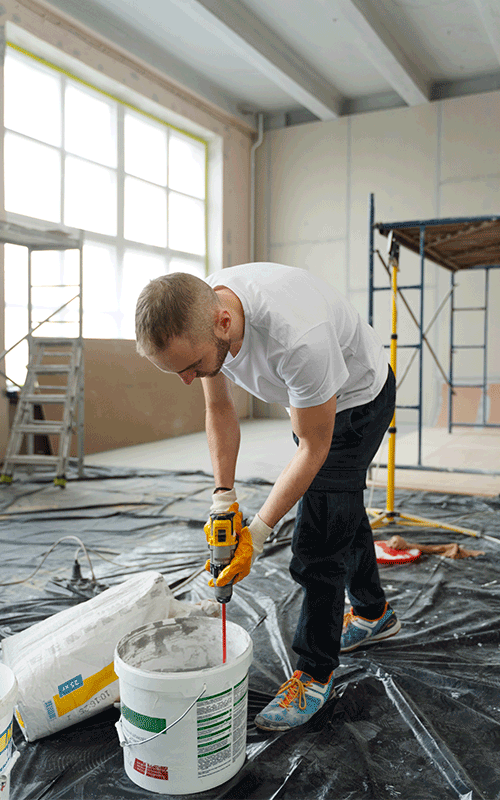
Mix the joint compound. If using a pre-mixed joint compound, stir it well before use. If using a powdered joint compound, follow the manufacturer’s instructions to mix it with water to the desired consistency.
Apply the joint compound. Use a putty knife, trowel, or other appropriate tool to apply the joint compound to the desired area. For small repairs, a putty knife may be sufficient, while larger projects may require a trowel or drywall knife.
Smooth and feather the edges. After applying the joint compound, use the putty knife or trowel to smooth out the surface and feather the edges. Blending the compound with the surrounding area.
Allow the joint compound to dry. All-purpose joint compound typically takes around 24 hours to dry. But the drying time can vary depending on factors such as humidity, temperature, and application thickness. Ensure that the compound is fully dry before proceeding with additional coats, sanding, priming, or painting.
Sand and repeat. Once the joint compound is dry, use a sanding block or sandpaper to smooth out any imperfections. Apply additional coats of joint compound as needed. Allowing each coat to dry and sanding between coats, until the desired finish is achieved.
Remember to follow the specific instructions provided by the manufacturer of the all-purpose joint compound you are using. As different brands may have slight variations in application and drying times.