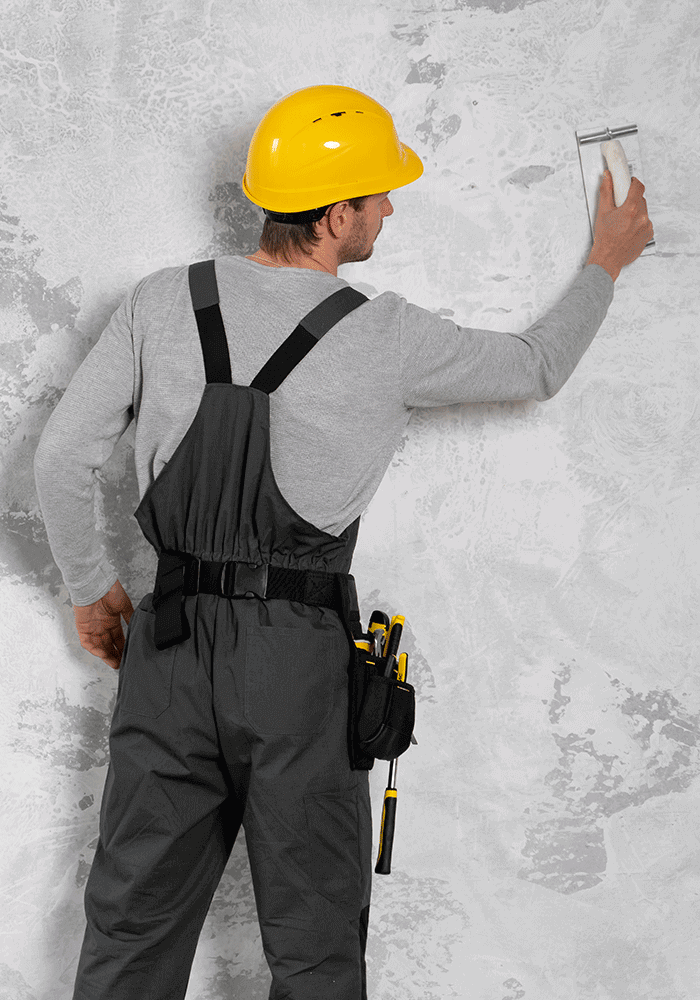
Using all purpose joint compound
All-purpose joint compound is a product makes it possible to hide seams along with joints and conceal screws and nails. when taping and mudding drywall. Here are the steps for using all purpose joint compound.
Clean the area around the seam. Brush the area or use a whisk broom to dislodge and remove any dust. You also want to brush away any other particles that may be clinging to the area. where the joint compound will be applied. Before beginning to clean, put on the face mask. as this will prevent inhaling any of the dust particles from the sheetrock.
Consider applying a small amount of premixed compound into the seam. Apply the joint compound. Use the knife to apply the compound in sections. Begin with the top of the covered seam. Feather the product over the seam so that the layer is thin but sufficient to cover the face of tape. Feathering is accomplished by making light strokes that move downward and to each side in a steady manner. Once a section is covered, apply additional compound to the next exposed area. and repeat the process until the seam and tape are completely covered.
Allow the joint compound to dry. Depending on the brand involved, this may take up to 12 hours. Once the compound is dry, lightly sand with the sandpaper. and then brush away any residue with the brush or whisk broom. If the tape is exposed as the result of the sanding, apply a second coat of compound. and allow it to dry. Then sand again until the wall is as smooth as possible.
All-purpose mud is commonly used as a first coat. because the bonding agents in the mud cause the drywall tape to hold better. All-purpose mud is harder to sand than lightweight all-purpose drywall mud. which is lighter in weight and easier to sand than all-purpose joint compound used for mudding drywall. It can be used as a first and second coat for seams and corner beads. and it is almost always used as a finish coat.
Recommended thickness for applying joint compound
The recommended thickness for using all purpose joint compound varies depending on the area of the wall being covered. According to, up to 12 centimeters (4.7 inches) is usually fine. but the most common average thickness is about a quarter of an inch. However, the thickness of the compound needs to be different on distinct areas of the wall. For instance, it should be as thin as possible in general. When applied along the joints or the long edges, it should be flush with the face of the drywall. Also, when applied over the screw heads and butt joints, a thinner layer is always better. but remember that the tape or mesh also needs to be covered. According to, ready-mixed joint compounds can be applied up to 1/8″ thick. Also the thickness of joint compound needs to be adjusted based on the specific area of the wall being covered.
The thickness of joint compound can affect the quality of the final product in several ways. Here are some of the ways.
Shrinkage. Joint compound shrinks as it dries. which is why it is necessary to apply multiple coats to cover the seams and joints. If the compound is applied too thickly, it may shrink excessively, leading to cracks and other imperfections in final product.
Drying time. The thicker the joint compound, the longer it will take to dry. This can be a problem if you need to finish the project quickly. or if you need to apply multiple coats.
Sanding. If the joint compound is too thick, it will be difficult to sand it down to a smooth finish. This can result in a rough or uneven surface that is difficult to paint or wallpaper.
Weight. Joint compound is heavy, and the thicker it is applied, the heavier it will be. This can be a problem if you are applying it to a ceiling. or if you are working on a large project.
Cracking. If the joint compound is applied too thickly, it may crack as it dries. This can be a problem if you are trying to achieve a smooth, seamless finish.
In summary, it’s important to apply joint compound in appropriate thickness for the specific area of the wall being covered. Applying it too thickly can lead to problems such as shrinkage, longer drying times, difficulty sanding, excess weight, and cracking.
Needed tools for using all purpose joint compound
for using all purpose joint compound, you will need the following tools.
Joint compound. This is the main material that you will be using to cover the seams and joints in the drywall. All-purpose joint compound is the most commonly used type of joint compound for mudding drywall.
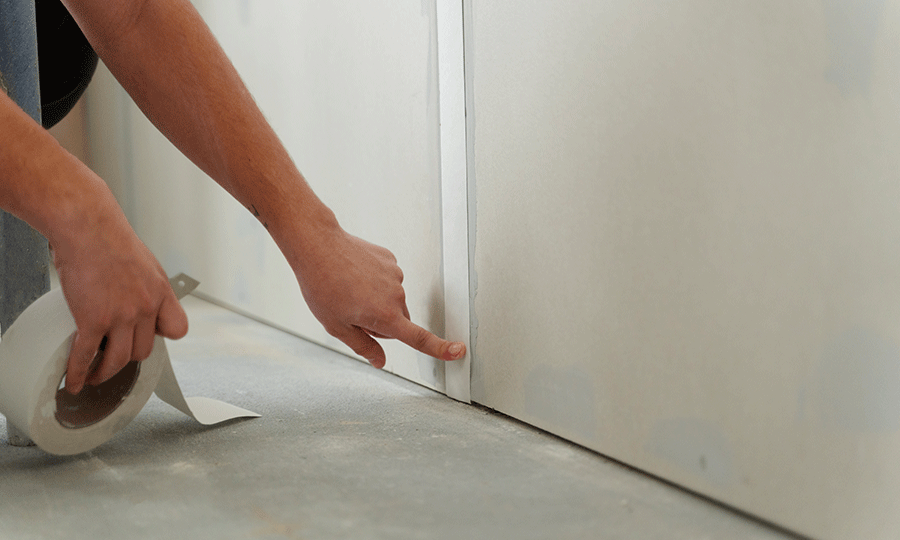
Drywall tape. This is used to reinforce the seams and joints in the drywall. Paper tape is the most commonly used type of tape for mudding drywall.
Putty knife. This is used to apply the joint compound to the seams and joints. A 6-inch or 8-inch putty knife is the most commonly used size for mudding drywall.
Sandpaper. This is used to smooth out the joint compound after it has dried. A fine-grit sandpaper, such as 120-grit or 150-grit, is the most commonly used type of sandpaper for mudding drywall.
Whisk broom or brush. This is used to clean the area around the seam before applying the joint compound. It is also used to brush away any dust or residue after sanding.
Face mask. This is used to prevent inhaling any of the dust particles from the sheetrock while cleaning the area around seam.
All of these tools are essential for applying all-purpose joint compound to drywall seams and joints.